Illuminated Gown

Electrical Components
Arduino LilyPad Main Board microcontroller
Electret Microphone Amplifier - MAX9814
LED diodes
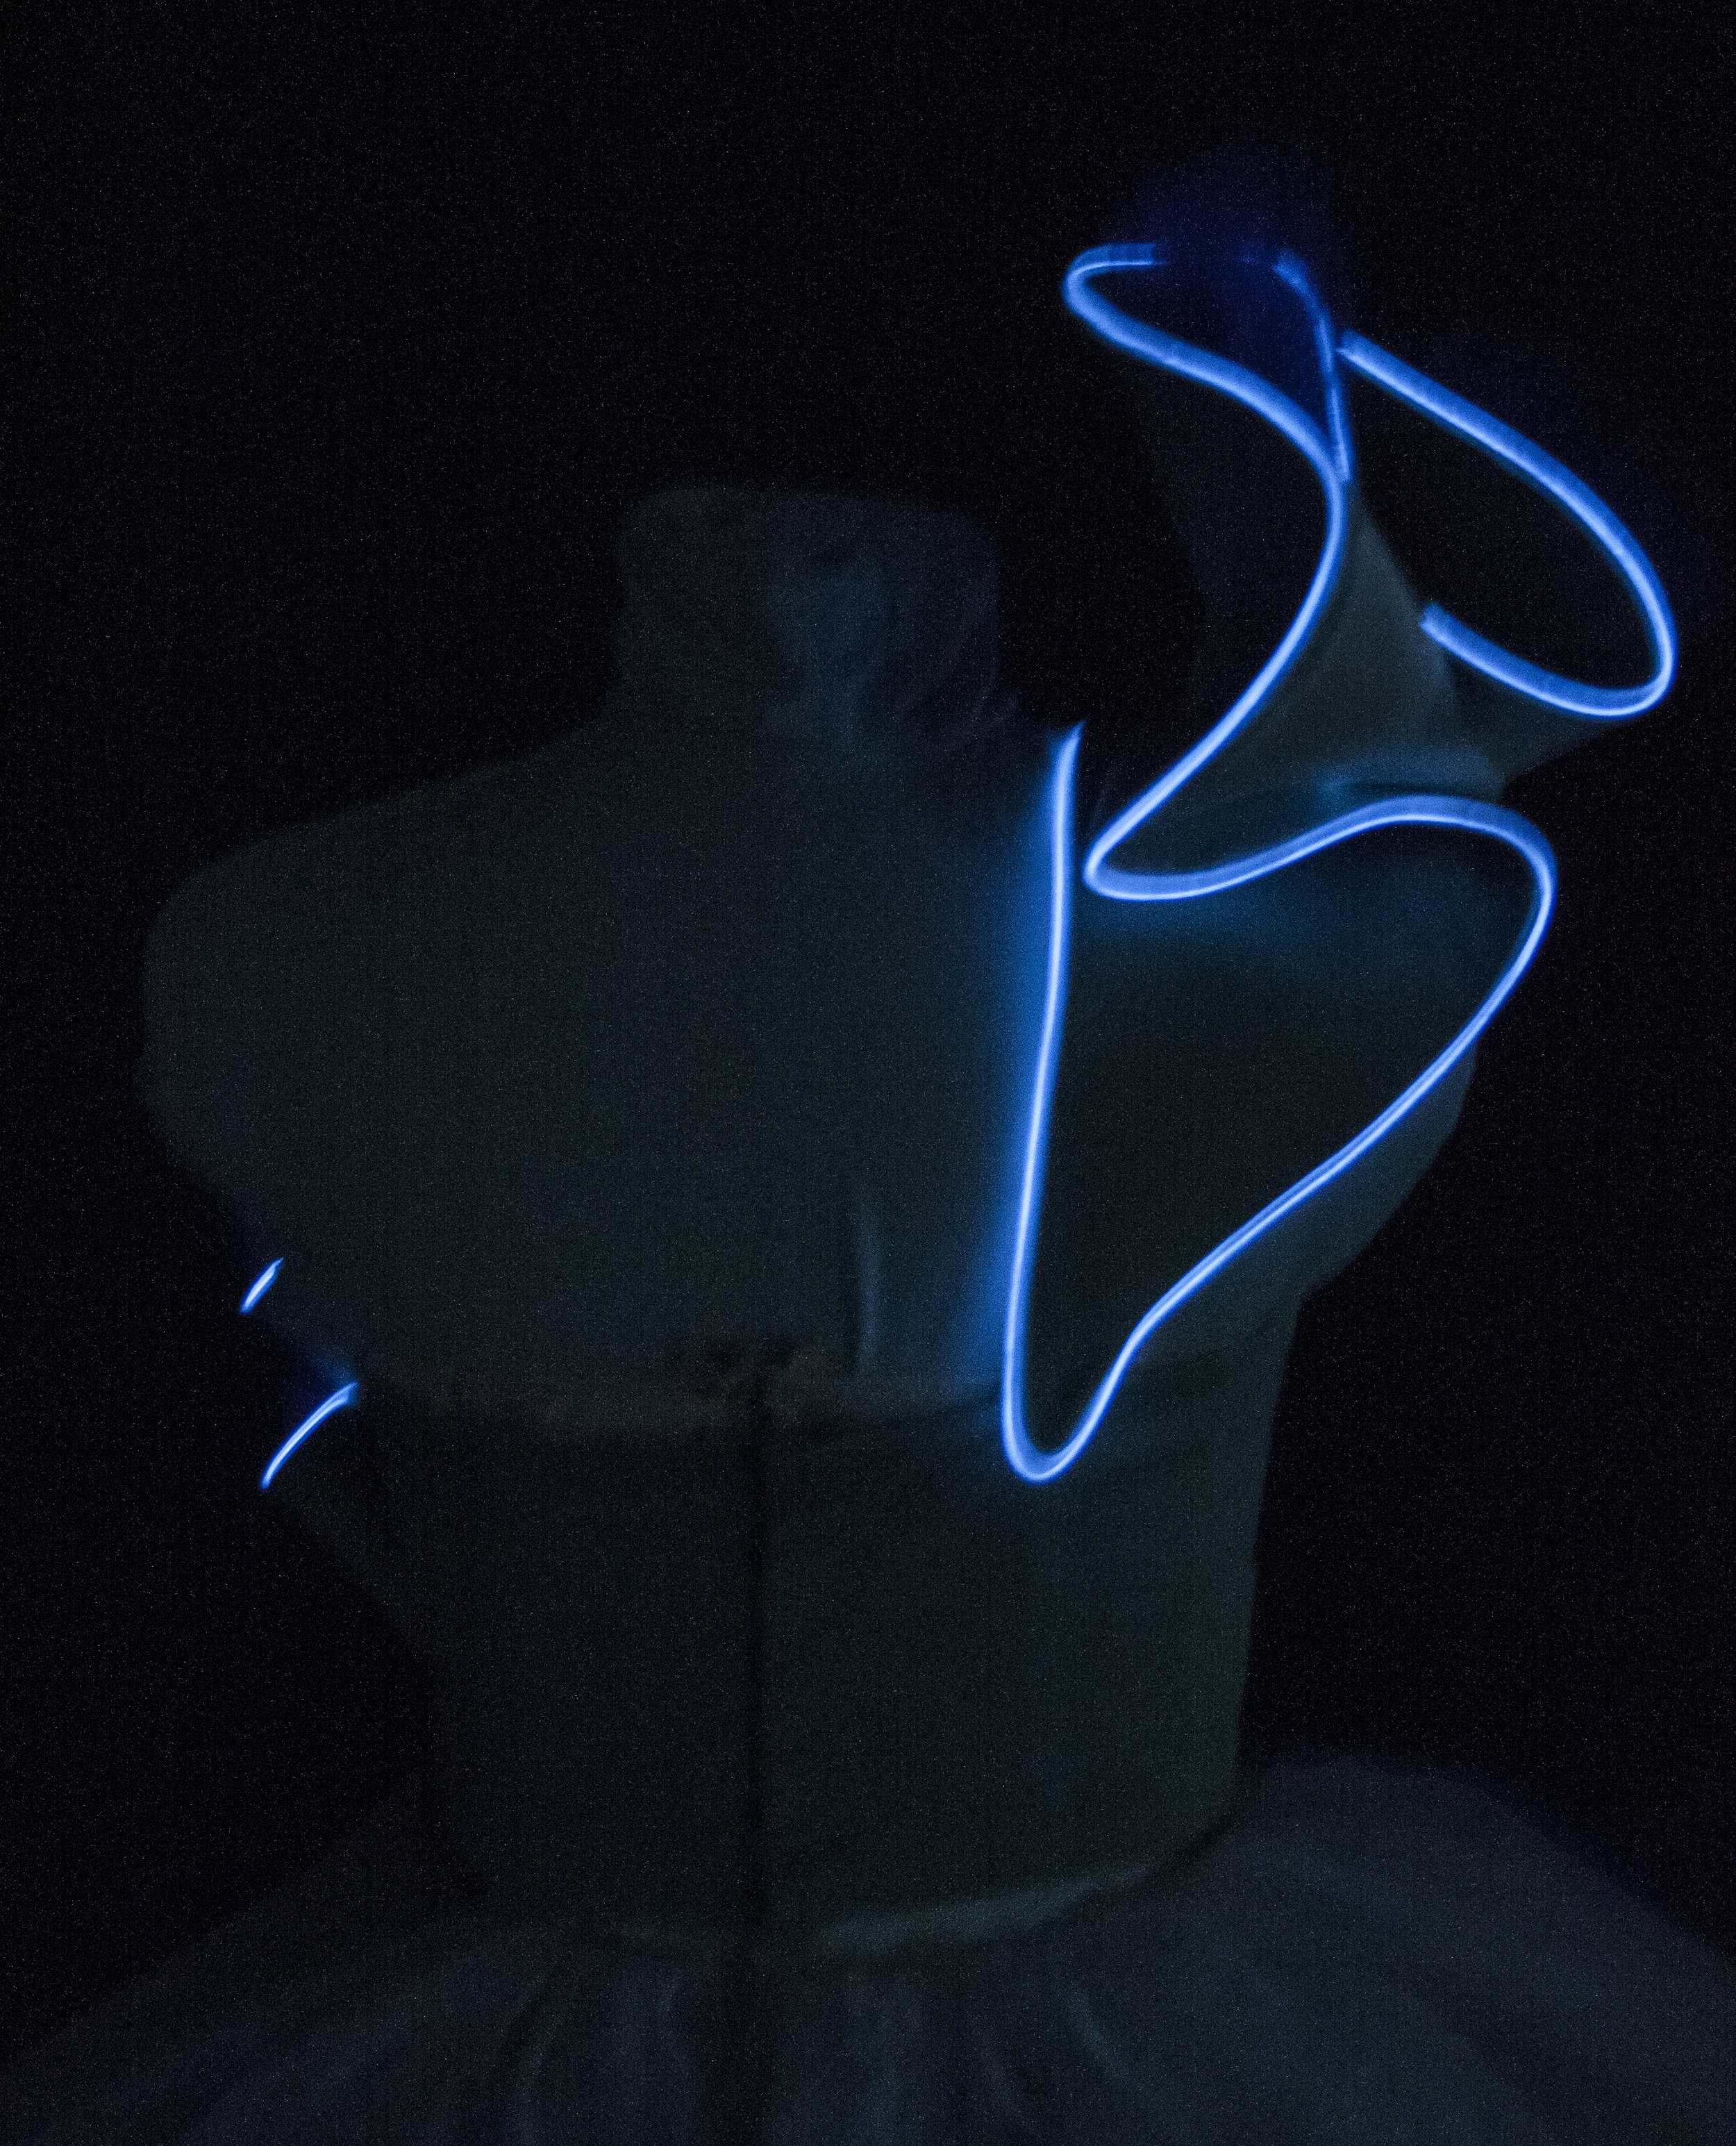
Electroluminescent Wire (EL-wire) with appropriate EL inverters
220ohm resistors
Fiber optic fabric
3V relay
DMX shield for an Arduino
Conductive thread
Control console and DMX transmitter or cable
Quick connectors
9V battery pack and 5V battery pack
Goals
-To create a collaborative piece that integrates light, sound, and costumes in a safe and effective manner.
-To push the boundaries of stage costuming by making the lights in the gown both audio reactive and DMX compatible.

Color inspiration and final design rendering by Natalia de la Torre.

Control center of the dress showing the Arduino LilyPad, the 3V relay, insulated conductive thread, and the power supply.

The blue box is the EL inverter hidden in a fold return.
Process
-I chose the Arduino LilyPad because it is sewable and offers the most options in terms of programming ability and number of output pins
-Complete the math to determine the appropriate resistors for your LEDs using Ohm’s Law: RΩ = (Vsource – Vled)/Iled
-Solder the resistors to the LEDs in series on the positive terminal. The LEDs are now ready to sew onto fabric using conductive thread. Negatives may be connected in series within tolerance then back to the ground on the board. The positives respond best if they go directly back to the board.
-The conductive thread must be insulated for safety as well as actor comfort. For this project fusiknit interfacing was used to cover all of the thread runs.
-The EL-wire is sewn in like piping and connected to the appropriate inverter which converts the DC current into an AC current. The EL-wire requires more voltage than the LilyPad can handle so a relay must be used to drop the voltage in the circuit before it gets back to the board.
-The fiber optic fabric is lit in sections by LEDs that are wired to the board with conductive thread. Cut the fabric to shape.

A close up of the fiber optic fabric and one of the LED lit sections. This fabric can be purchased from lumigram.com where you can also find more details about the product.
-In order to connect the electronics in the bodice to the board hidden in the petticoat, quick connectors are sewn into the bodice and the basque in the skirt. They have the added benefit of being simple to use so that is no danger of incorrectly completing the circuit when dressing the actress.

The quick connectors attach easily and get sewn into the bodice and the corresponding parts on the skirt as shown to the right.
-In order to make the dress audio reactive a microphone is connected to the LilyPad. The signal from the sound samples are fed through a program loaded onto the Arduino that runs a Fast Fourier Transform which isolates the individual frequencies. A specific range of these frequencies is then assigned to the five different groups of LEDs so that they appear to blink in time with the music.
-The DMX component required an additional piece of hardware: a DMX shield for the Arduino. The shields currently on the market are configured for an Arduino Uno, not the round LilyPad. In order to make the connections secure in this case a little soldering was necessary. To meet the goals of this project the shield only needed to be set up as a slave device that receives signal but does not transmit back to the control console. The shield contains a 3-pin XLR connection point where either a wireless DMX receiver or a cable can be plugged in.

The microphone sewn into the dress with the conductive thread leading to the corresponding terminals on the LilyPad.

-After extensive testing both in terms of the hardware and the programming, I was not able to get the DMX shield to respond when used in conjunction with the LilyPad. I worked closely with Mark Lucas, a Professor of Physics at Ohio University who has a side interest in working with Arduinos, trying to troubleshoot the issue. We determined that the LilyPad may not have the proper processing capabilities on the serial ports to support the DMX shield. I was, however, able to test the shield and the program using an Arduino Uno. The tests proved successful, suggesting that if one had the budget to go to the manufacturers and commission a version of the sewable LilyPad that could support a DMX shield the whole set up should function.
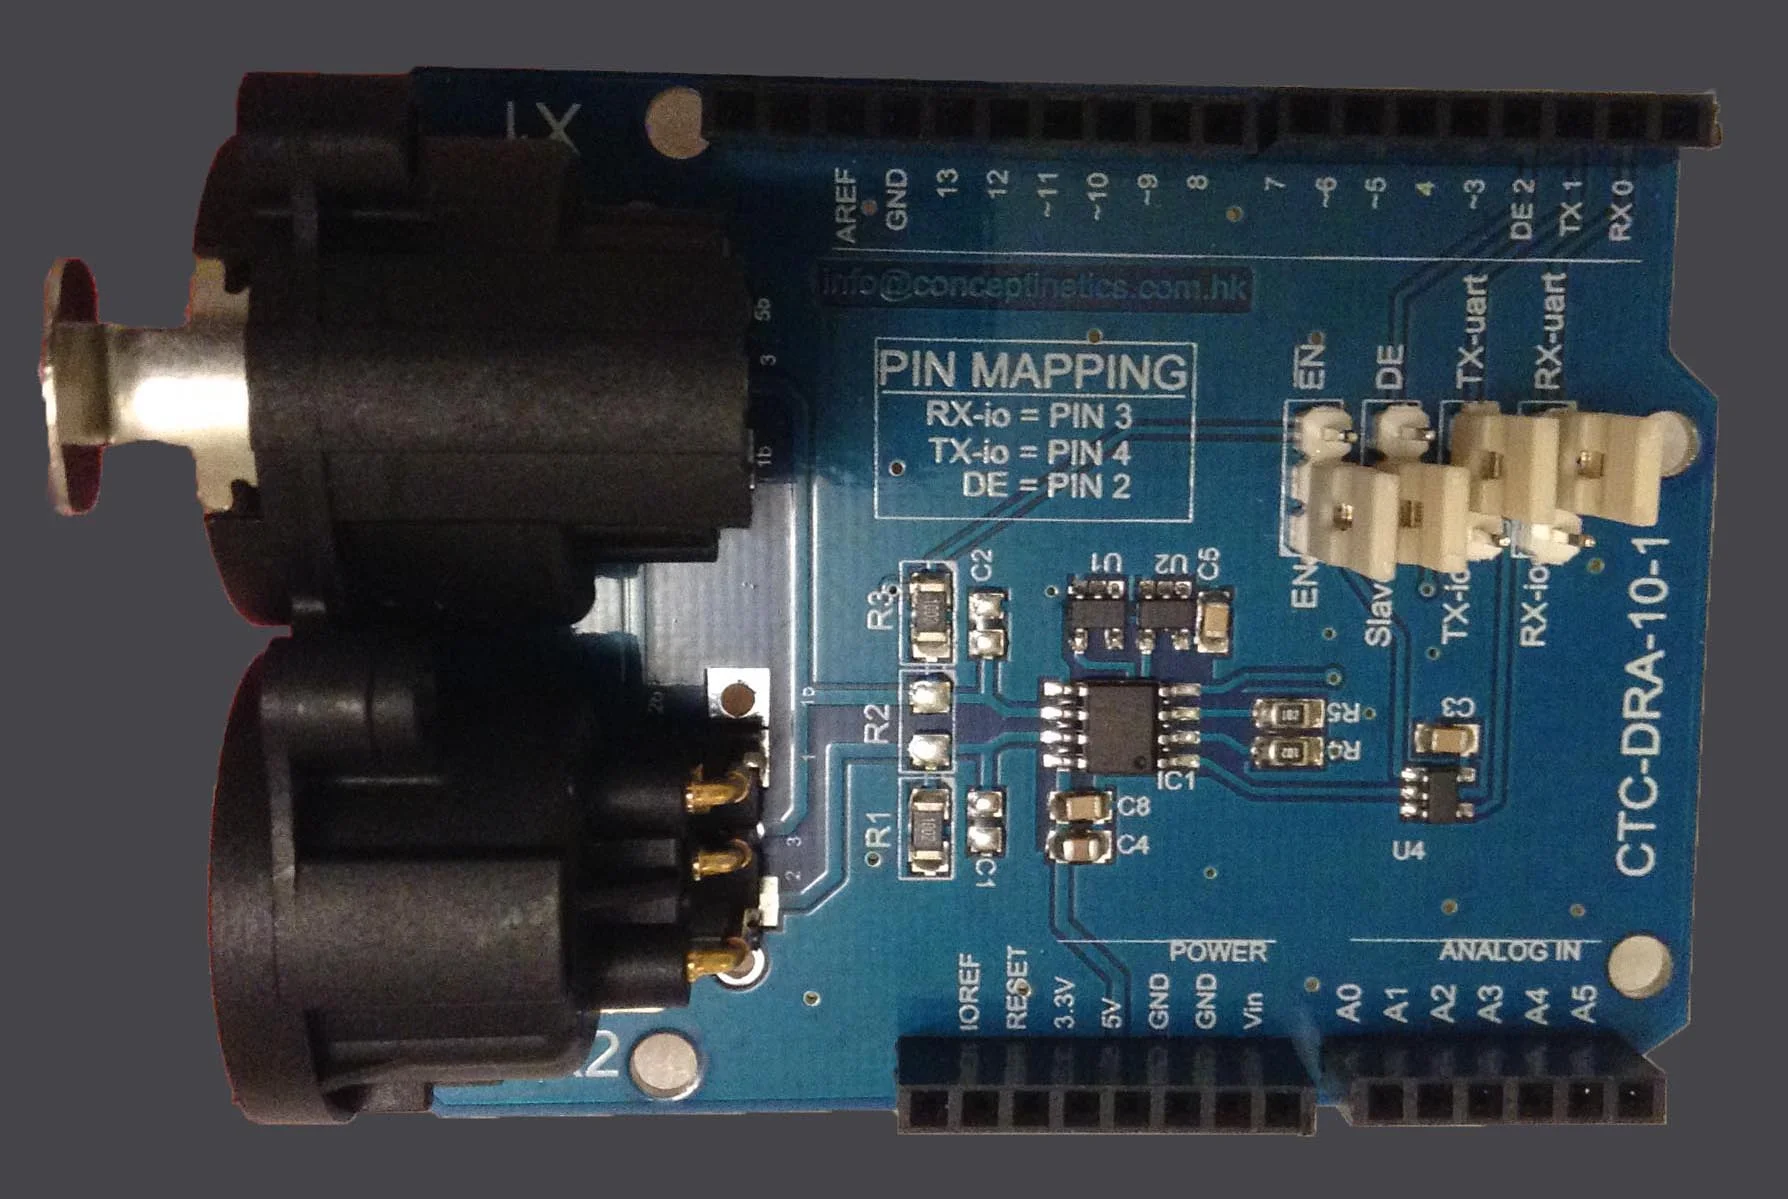
The DMX shield showing the settings necessary for this project and the 3-pin connection points. The accompanying libraries are available for download from sourceforge.net/projects/ dmxlibraryforar
-The final step, supposing the DMX component was compatible, is to create a code that tells the Arduino when to respond to DMX control and when to listen to the microphone to control the lights using what amounts to an “if, then” clause. The code establishes an intensity parameter that tells the Arduino to give control to the lightboard if it reads a signal above fifty percent on channel one, otherwise control comes from the microphone. Due to the rate at which the program gathers data the switch between control devices will hardly register to the human eye.


Below are some short videos showcasing how the technology works. The first displays the audio reactive LEDs and a look at how the conductive thread, Arduino LilyPad, and microphone are used. The second video demonstrates how I would have used the DMX shield in conjunction with an Arduino to make the whole gown console controlled.
Materials and Source List
1. The specifications for the LilyPad can be found at: https://www.arduino.cc/en/ Main/ArduinoBoardLilyPad
2. Information about using and purchasing fiber optic fabric can be found at: http://www.lumigram.com/catalog/P8_LUMINOUS_FABRIC.php
3. The Electret Microphone Amplifier- MAX 9814 can be purchased from Adafruit at: https://www.adafruit.com/products/1713
4. For more information of FFTs please visit https://learn.adafruit.com/fft-fun-with-fourier-transforms/overview-1or https://www.arduino.cc/en/Tutorial /HomePage
5. The DMX shield and the Conceptinectics DMX Library for Arduino used for this shield can be downloaded from sourceforge: http://sourceforge.net/projects/ dmxlibraryforar
6. Special thanks to Mark Lucas, Associate Professor of Physics and Astronomy at Ohio University, for his help in figuring out and explaining the Arduino programming for this project.